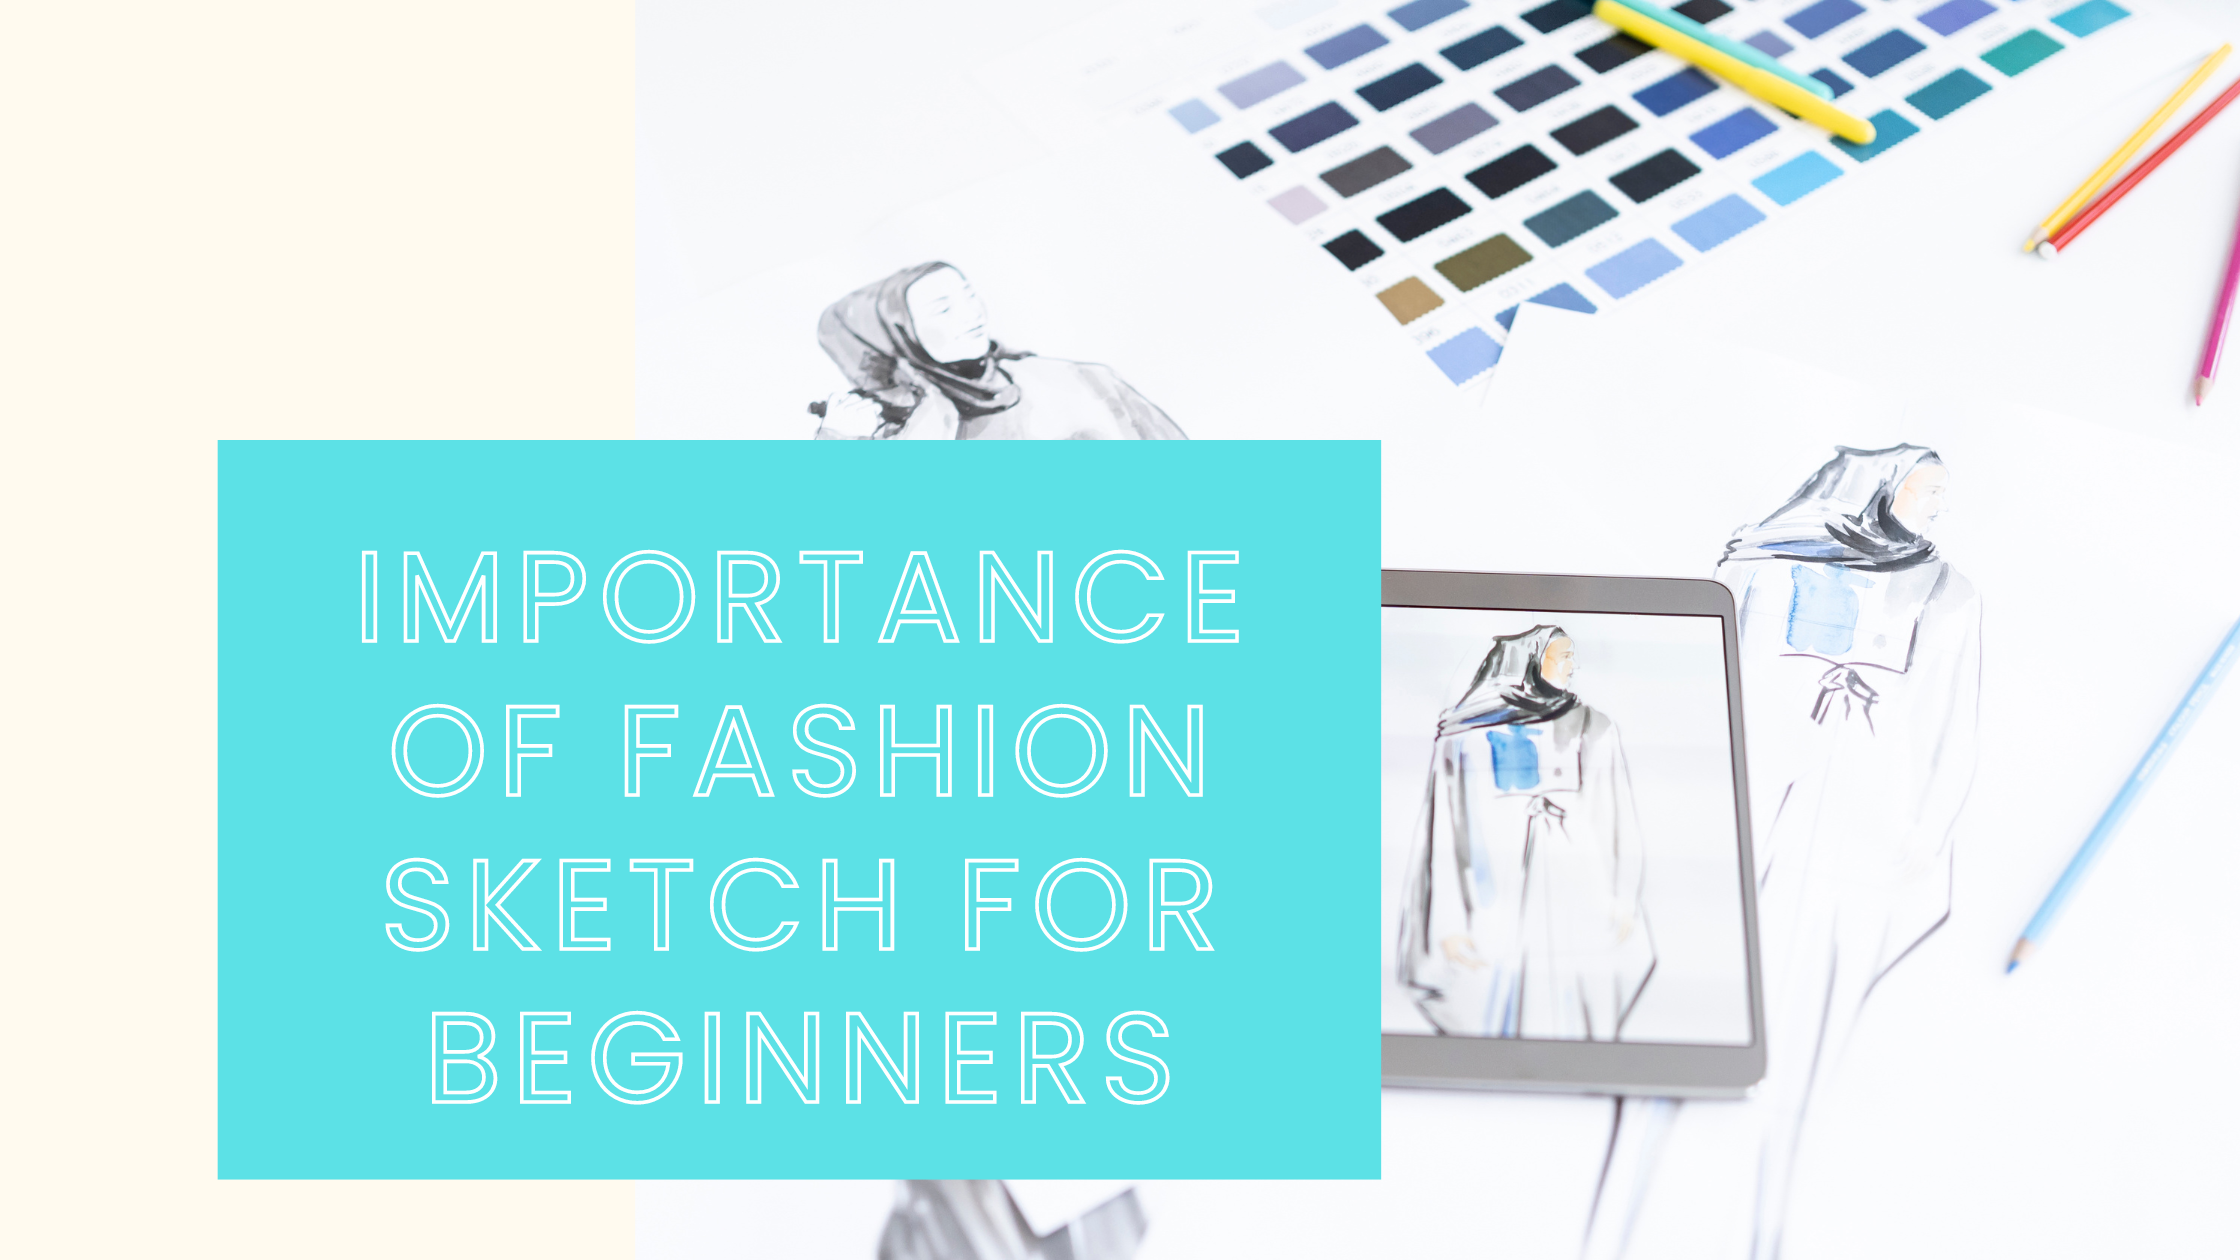
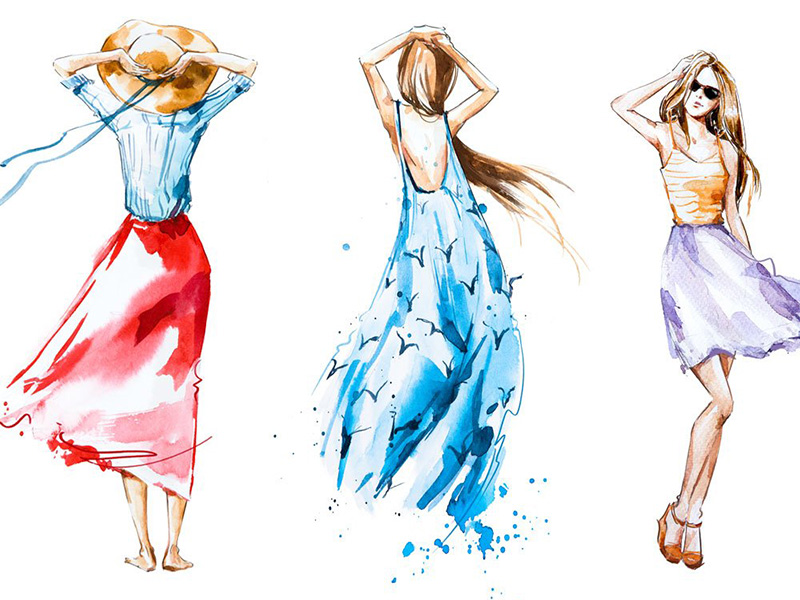
Fashion illustration is an essential tool for designers, acting as the first step in bringing a creative vision to life. It's more than just drawing; it's a form of visual communication that translates a designer's ideas into a tangible form. Through fashion illustrations, designers can convey the mood, style, and personality of their collections, helping to define the brand's identity and narrative.
Why Fashion Illustration Matters
Visual Communication: Fashion illustrations provide a visual representation of a design, allowing others to see the concept before it's produced. This can be crucial when communicating ideas to clients, manufacturers, or other members of a design team.
Concept Development: Illustrations help designers explore and refine their ideas, experimenting with different shapes, colors, and styles on paper before committing to fabric.
Mood and Emotion: Illustrations can convey the emotional tone of a collection, setting the stage for the brand's aesthetic and helping to attract the right audience.
Brand Identity: Through consistent use of a particular illustration style, designers can help build and reinforce the identity of their brand, making it instantly recognizable.
How to Start Making Fashion Illustrations
Fashion illustration requires understanding the unique proportions of fashion figures, which differ significantly from real-life human proportions. Here’s a step-by-step guide to help you start creating fashion sketches:
Step-by-Step Fashion Illustration Tutorial
Draw a Vertical Line:
Start by drawing a vertical line down the center of your paper. This line will act as the balance line for your figure, from head to toe.
Divide the Sheet into Nine Equal Parts:
Divide the vertical line into nine equal sections. Each section will represent different parts of the body: head, chest, waist, hips, thighs, calves, ankles, and feet.
Draw the Pelvic Area:
In the middle of the vertical line, draw a square to represent the pelvis. The tilt of this square can suggest different poses.
Sketch the Torso and Shoulders:
Draw two lines upward from the edges of the pelvic square to create the torso. Curve the lines inward at the waist and outward at the chest. The shoulders should be about as wide as the pelvis, though slanting the lines can add a rounded, natural look.
Draw the Neck and Head:
The neck should be about one-third the width of the shoulders. Draw a circle for the head, making sure it's proportionate to the rest of the body.
Sketch the Legs:
The legs should be about four times the length of the head. Divide them into two parts: thighs and calves. The thighs should equal the length of the head, with the calves tapering down to the ankles.
Draw the Arms:
Draw the arms by tapering lines from the shoulders to the elbows and down to the wrists. The hands can rest on the hips or hang naturally by the sides.
Illustrate the Feet:
The feet should be about the same length as the head, ensuring they provide balance to the figure.
Develop Your Design Ideas:
Use your constructed fashion figure as a base to start sketching your clothing designs. Experiment with different styles, fits, and details.
Finalize the Illustration:
Add shading to show where fabric might bunch or fold, giving the garment depth and realism. Color your illustration to highlight the design details, and add final touches like facial features or hair to complete the look.
Conclusion
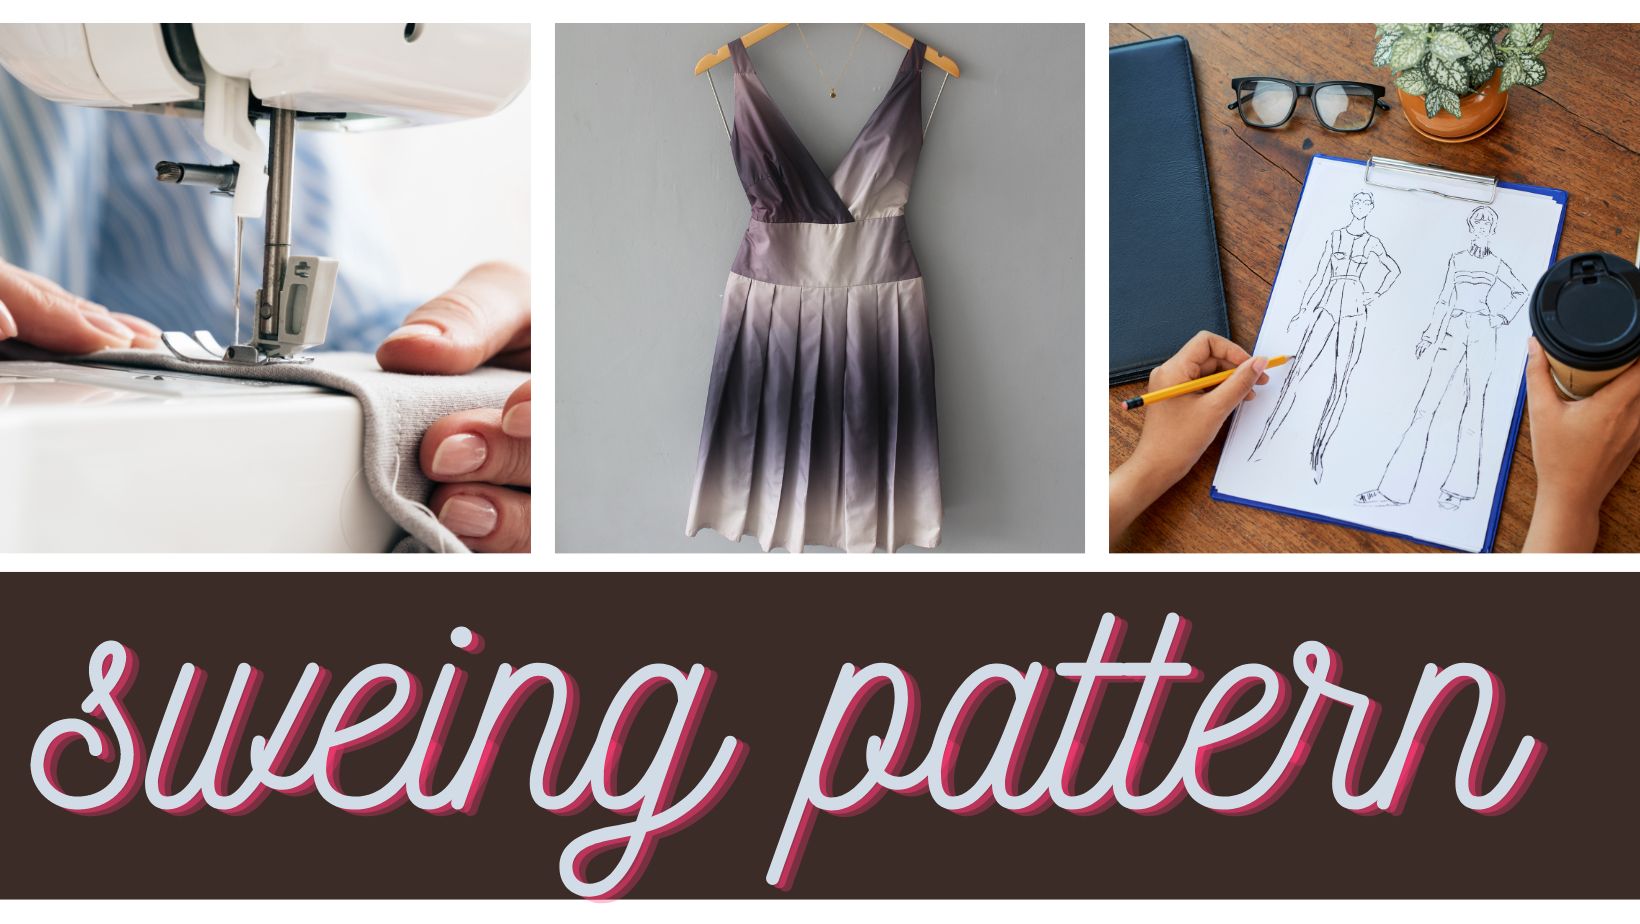
Fashion illustration is a powerful tool for designers, helping them to visually express and refine their ideas before moving on to production. By mastering the basics of fashion sketching, designers can effectively communicate their creative vision, ensuring their ideas are brought to life exactly as imagined. Whether you're a beginner or an experienced designer, improving your illustration skills will greatly enhance your design process and overall creative output.
 Sai boutique


.jpg)


