Blogs List /
Detail Page
 SVT FASHION BOUIQUE


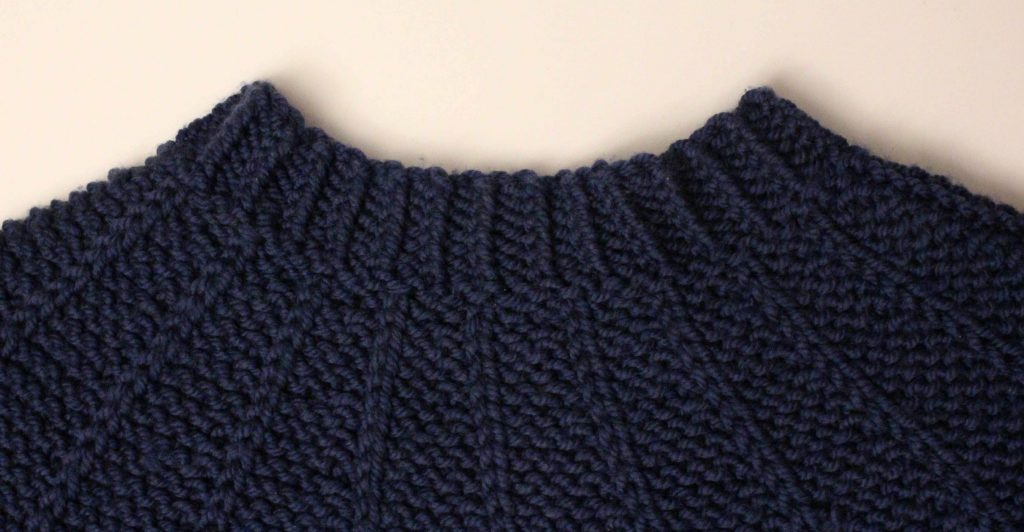
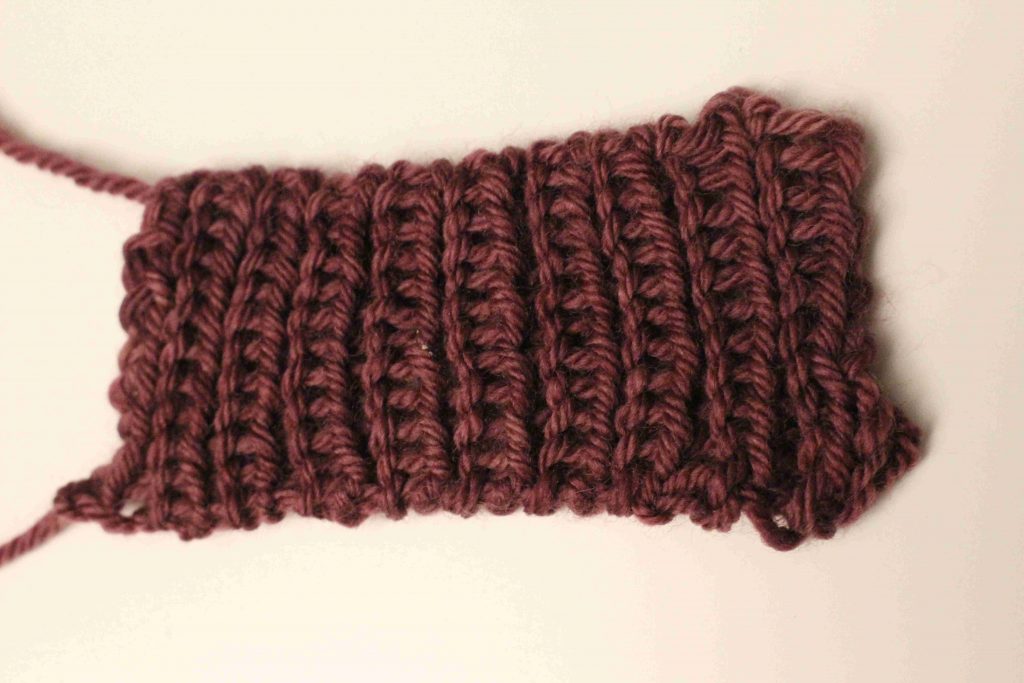
My Favorite Rib
Comments (0)
0 / 250
.jpg)


Sign Up to Our Newsletter

Secure Payment
Follow Us
The Copyright @ 2026 epatternz.com All rights reserved.


The Copyright @ 2026 epatternz.com All rights reserved.


